Installing TightVNC Viewer on Windows
Overview
This tutorial demonstrates the installation of TightVNC Viewer, a VNC client, on Windows 10.
Audience
This tutorial is geared toward:
- Windows 10 users comfortable installing software
- Users wishing to establish a VNC connection to a remote server
Tutorial
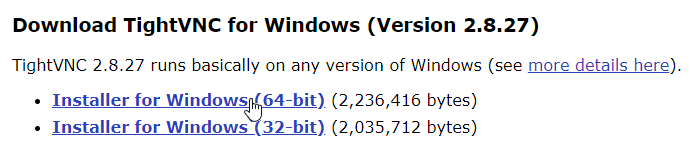
- Download and run the latest version of the TighTVNC installer (a
.msifile). If you are uncertain, you probably want the 64-bit version.
- Click Next.

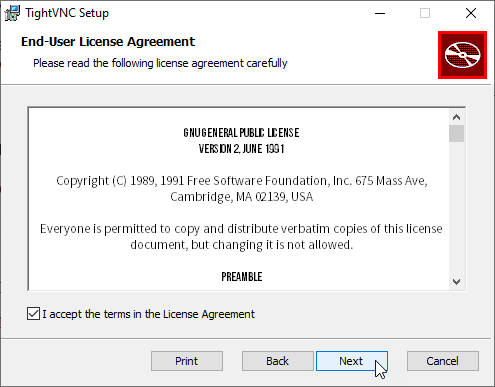
- Accept the agreement and click Next.
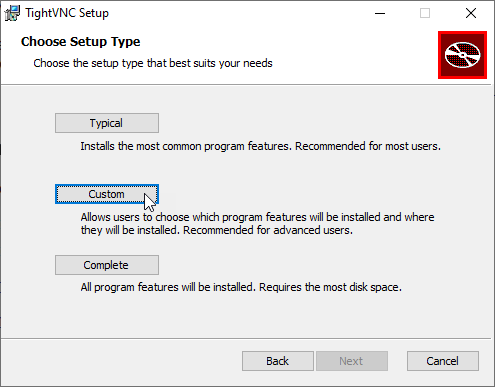
- Click Custom.
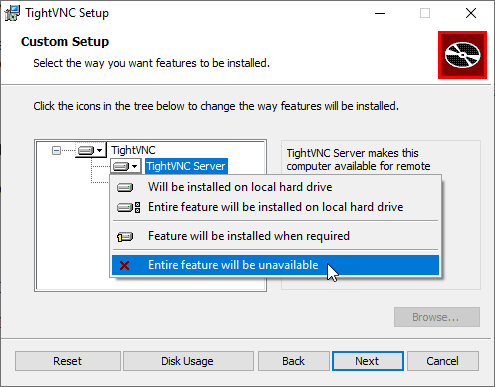
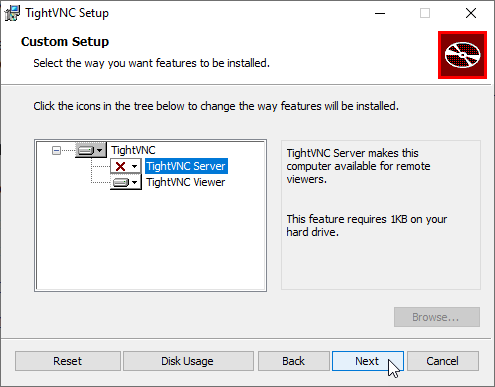
- Click TightVNC Server and select Entire feature will be unavailable.
- Click Next.
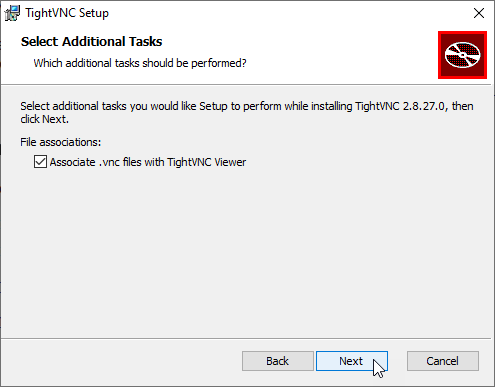
- Click Next.
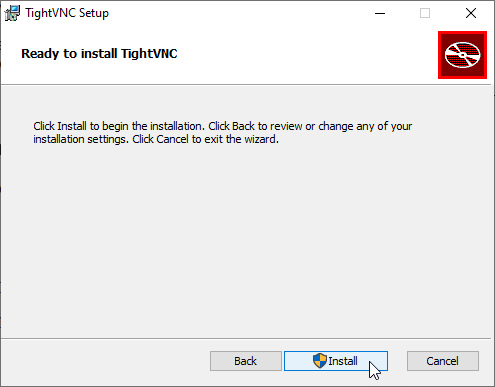
- Click Install.
- Click Finish.
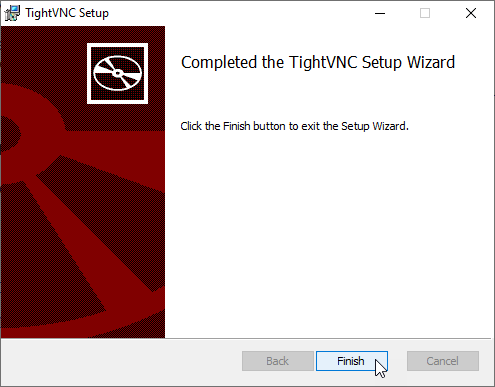
You will now find TightVNC Viewer in your Start menu and can use it to establish a VNC connection to a remote server.